Contents
Coinomi wallet
Android, Version 1.9.1
Welcome to this guide on securely setting up Coinomi Wallet. This guide focuses on the security choices you can make when setting up your wallet; if you are looking for the official setup guide, please click here.
Coinomi Wallet is a non-custodial, privacy-respecting, multi-blockchain wallet with over 1 million downloads. Coinomi was originally released in 2014 for Android only. Today Coinomi is cross-platform, available on Android, iOS, Windows, Mac OS, and Linux.
This guide is focused on the Android wallet. Switch to our iOS wallet guide.
1. Introduction
This guide is focused on how to securely set up Coinomi on Android. If you are using iOS, check out our Coinomi iOS guide.
Coinomi is a multi-blockchain, non-custodial wallet that is absolutely packed with features. The wallet has native support for over 125 blockchains, which is the most among non-custodial wallets. The Coinomi developers work quickly to add new coins and tokens that are gaining traction. If you can't find the token you are looking for among the 1,700+ available on Coinomi, you can manually add it to your wallet. Manually adding coins and tokens is supported for Ethereum, Tron, Binance Smart Chain, Omni Layer and NEM Mosaics.
Coinomi was originally released in 2014 as a multi-blockchain Android wallet. It's popularity quickly grew, and the team released an iOS version of Coinomi in 2017. Coinomi continued to gain new users, and in 2019 the desktop version was released - supporting Windows, Mac OS, and Linux.
Some of the benefits of using Coinomi include:
Built-in Exchange - Coinomi interfaces with Changelly, Coinswitch, and TotleSwap to enable in-app coin swaps.
Access Dapps - Coinomi ships with a built-in mobile browser that is pre-configured for use with decentralized applications on the Ethereum network. For times when you want to use your desktop or laptop, there is WalletConnect, which forms an end-to-end encrypted connection between your wallet and your computer.
Enhanced Privacy - Coinomi broadcasts all transactions from their servers, shielding your IP address in the process. No KYC of any kind is needed, and all logs are routinely deleted.
Live Chat Support - Built-in to the app is live chat support that is available 24/7/365, which is a unique feature for non-custodial wallets, and one that is very helpful for beginners.
International/Multilingual - Coinomi can display fiat prices of assets in 168 different currencies, and is fully translated across 25 different languages.
Buy Crypto and Gift Cards - Coinomi is partnered with Simplex and BTC Direct to facilitate the purchase of crypto, and Bidali to support the purchase of Gift Cards with your crypto.
Support for 1700+ tokens - Coinomi adds new coins and tokens frequently, especially for up and coming projects
2. Download and install
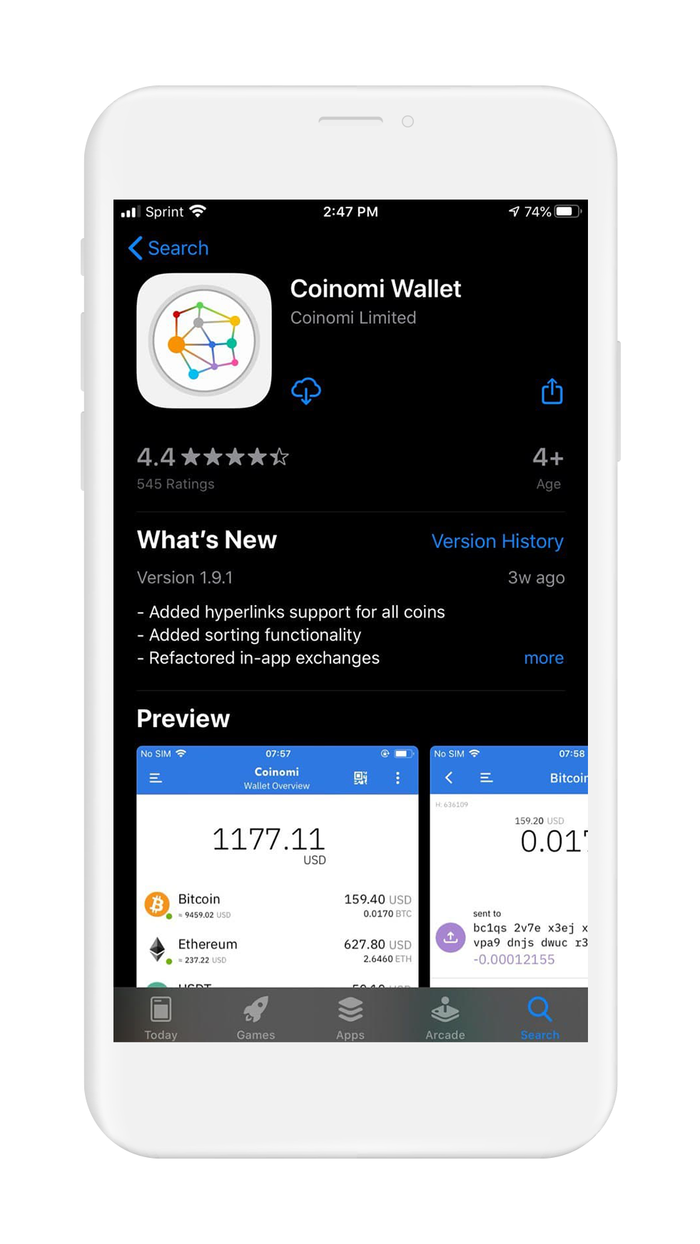
- From your mobile device, open the 'Google Play Store' and search for Coinomi, or click this link: Coinomi Wallet: Bitcoin Ethereum Altcoins Tokens - Apps on Google Play to get the Coinomi Wallet.
- Trust, but verify. When using any cryptocurrency wallet, it is important to make sure you are downloading the correct version. Check the store listing for the following info:
Version: 1.9.1 as of February 11, 2021
Offered by: Coinomi
- The `Version` number will change as the app is updated over time. The important part to verify is the `Offered by` field.
Remember the phrase trust, but verify. Taking the extra step to verify can prevent loss of funds. Trust, but verify is an important concept in having a security mindset.
3. Create and setup
Coinomi Wallet is a blockchain-agnostic, native BIP39, non-custodial wallet. This means that Coinomi Wallet supports multiple different blockchains from one wallet. Under the hood, Coinomi Wallet generates your wallet with the use of a recovery phrase. The recovery phrase is a sequence of 12-24 words that can be used to restore your Coinomi Wallet, and/or imported into another wallet that supports BIP39.
You can think of your seed phrase as a master backup of all your cryptocurrency in this wallet. It will unlock every single address created by your wallet. Backing up the seed phrase ensures access to your wallet using any BIP-39 compliant wallet. It is important to highlight, your seed phrase only ensures you will have access to your cryptocurrency inside your wallet. If someone steals your phrase, you will still be able to access the wallet, but the funds may be gone - since whoever knows your seed phrase can spend all of that cryptocurrency.
When creating a new Coinomi Wallet, the default method is to create your wallet within the app. The more advanced method is to generate your own recovery phrase. We created detailed guides on generating your own recovery phrase.
By following the right directions, you can generate a recovery phrase that is more secure than the default method used by wallets.
In this section, you are going to create a new wallet in the Coinomi app using the wallet's default method. Let's get started.
If you already have a recovery phrase, proceed to Section 6. Initialize or import recovery phrase.
To create a new wallet with a new recovery phrase in Coinomi Wallet:
- Open the Coinomi Wallet app
- The main screen will show 3 options
- Fast Wallet Creation
- Advanced Wallet Creation
- Restore a Wallet
- Select "Advanced Wallet Creation"
- The main screen will show 3 options
Unless you are creating a wallet only to get the look and feel of Coinomi, you will want to avoid selecting the "Fast Wallet Creation" option. This option sets up your wallet immediately, without configuring security measures such as passwords and backing up your recovery phrase.

The first step in creating your wallet with Coinomi will be to back up your recovery phrase. Coinomi Wallet, along with many other wallets, recommend writing down your recovery phrase. However, this is only the first step. Writing down your recovery phrase allows you to transfer it to a secure medium for backup. Properly backing up your recovery phrase is the most critical step of creating your wallet.
- Displayed on the screen is your 24-word recovery phrase. In the next step, you will have to verify your recovery phrase. Using a pencil and paper, write down the words of your recovery phrase.
- Double check your written down recovery phrase for accuracy, spelling and word order matter
Paper is only viable as a short-term backup solution, to be used in transit while backing up your recovery phrase. It is very important that you back up the recovery phrase on a more reliable medium, and then destroy the piece of paper. Paper is vulnerable to accidental loss, theft, and damage. It is not the safest method of backing up your recovery phrase.
- Coinomi supports the option to add a BIP39 passphare to your recovery phrase. This is an optional feature that improves security.
- To access this feature, toggle on "Advanced Settings" and check the "Use BIP39" checkbox
- Type your passphrase into the textbox. Keep in mind, this passphrase is not the password used to perform wallet operations. This is an extra security feature built-in to BIP39, where the passphrase is to your recovery phrase only.
- Please be advised that not all wallets support using a BIP39 passphrase.
A BIP39 passphrase adds extra security to your wallet. This is an advanced feature, the way it works is by requiring your passphrase to be included with your recovery phrase, in order to initialize your wallet. If your recovery phrase becomes compromised, the attacker still needs your passphrase to access your wallet.


4. Verify your recovery phrase
Backing up your recovery phrase for most wallets, including Coinomi, is a 4 step process:
- The wallet will display your recovery phrase on the screen, and ask you to create a backup.
- Next, you will write down your seed phrase using paper and pencil, this is to prepare it to be transferred to a more secure medium*
- Returning to your wallet, the wallet will ask you to input your recovery phrase. This step is done to verify that you have copied your recovery phrase accurately.
- After completing the setup of your wallet, and before adding any funds to your wallet, backup your recovery phrase to a more secure medium
At this point, you are at step 3 in the above process, verifying your recovery phrase. In the next section of this guide, you will learn how to create a secure backup of your recovery phrase.
The purpose of verifying your recovery phrase is to ensure that you have recorded your your recovery phrase accurately and started the backup process. By neglecting to back up your seed phrase, your crypto assets are vulnerable to loss and theft, and millions in crypto assets have been lost or stolen this way. If you lose access to your wallet, your seed phrase is the one and only method of regaining access.
Now that you have your recovery phrase written down, Coinomi will ask you to verify your recovery phrase by selecting each word in the correct order. This is done because the order of your recovery phrase is very important - one word that is out-of-order, or one word that is misspelled, will render your recovery phrase null and void. Take care to copy it down accurately.
- On your screen will be a list of all the words in your recovery phrase, displayed in a random order
- Using your recovery phrase as a reference, select each word in the correct order, starting with the first word
- When you have selected all the words in the correct order, a blue arrow will appear on the bottom of the screen, allowing you to move on to the next step


Now that you have confirmed your recovery phase, it is time to setup Wallet Encryption. Coinomi allows 4 different selections, ranked from least secure to most secure
- No Authentication
- Biometric Authentication
- Password Authentication
- Biometric + Password Authentication
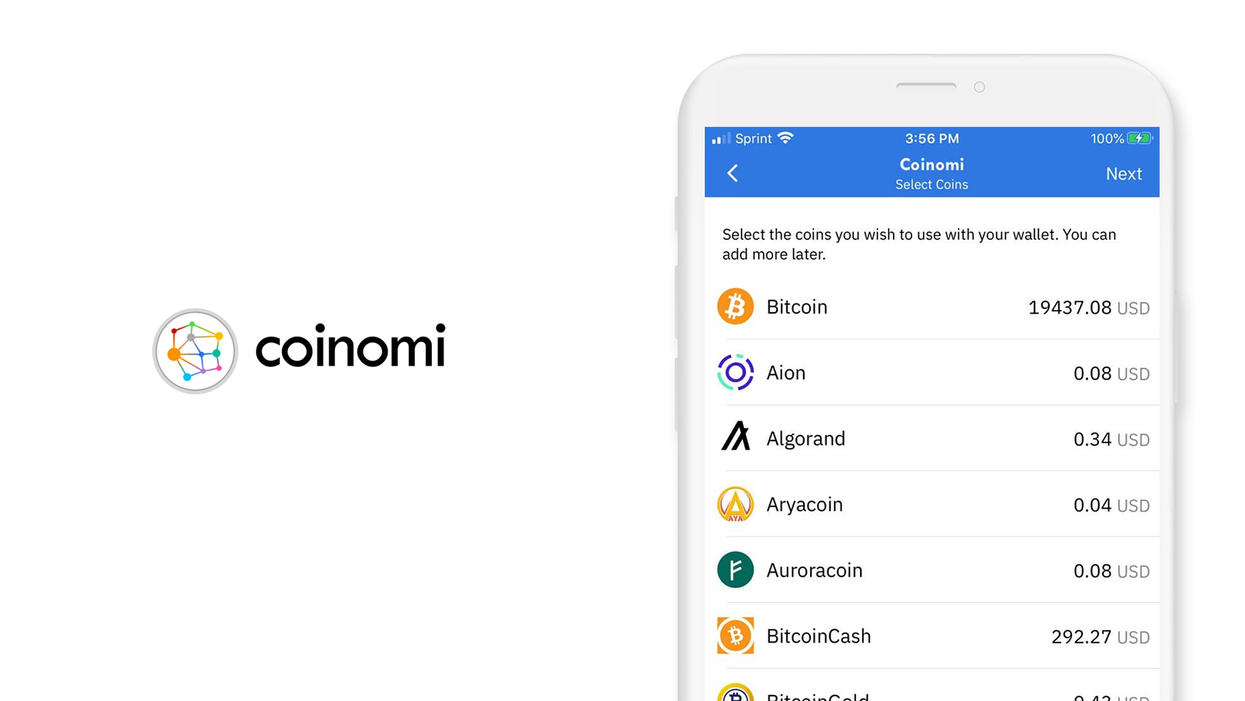
When you are finished configuring your wallet encryption, Coinomi will display a list of popular coins and tokens supported in the wallet.
- Select the coins and tokens you would like to activate and click on the blue + symbol to add it to your wallet.
- Don't worry, if you don't see your coin or token listed you can add it later.
Just one last step to cover before Coinomi will activate your wallet. It's time to cover the legal stuff.
- Check the box to agree to the Privacy Policies and the Terms and Conditions.

Good job, you have just generated a new wallet, with a new recovery phrase, using Coinomi Wallet! Your wallet is activated and ready to be used. However, before you deposit any funds into this wallet you will want to back up your recovery phrase. You are now ready to proceed to the next section to learn how to safely back up your recovery phrase..
5. Securely back up your recovery phrase
If you used Vault12 to generate your recovery phrase, your recovery phrase is already securely backed up in your digital vault.
Your recovery phrase is the master key to all of your cryptocurrency funds. Coinomi Wallet uses BIP39, which is the current industry best practice for generating recovery phrases. The majority of modern wallets today use BIP39. This means your Coinomi recovery phrase can be used to access your funds across many different wallets.
Securely backing up your recovery phrase is the most important step in creating a new wallet. To emphasize how important this is, consider how someone with your recovery phrase could access your funds without you knowing.
Imagine a bad actor has your recovery phrase, and you have your Coinomi Wallet locked down with biometric authentication on a fully-encrypted device. The attacker can simply open any wallet application, and import your recovery phrase. The attacker now has access to all of your funds.
We want you to have a secure backup, so this never happens to you.
Nine out of ten wallet providers only mention one way to backup your recovery phrase - by writing the recovery phrase on paper. Wallet providers only mention this paper backup method because it is easy for beginners to do. The truth is that paper backups are simply not that secure.
We did extensive research and compiled the best ways to back up your recovery phrase. We cover all the most well-known options, including next-generation options like How to back up your recovery phrase in Vault12.
Once you have safely backed up your recovery phrase, you can initialize your wallet using any BIP44 compatible wallet. In the next section, you will learn how you can initialize your wallet using your recovery phrase.
6. Initialize or import recovery phrase
If you are following this guide from the beginning, and you created your wallet using the default approach, using the app to `Create a Wallet`, then congratulations! You are ready to start using your wallet.
However, be careful about storing large amounts of funds secured only by a wallet-generated recovery phrase.
If you followed one of our guides for pre-generating a more secure recovery phrase, for instance using Vault12, and you want to use that recovery phrase with your wallet - this section is for you!
In this section, you will learn how to initialize your wallet using only your recovery phrase. There are 3 main reasons to generate your wallet using this method:
- You lost access to your wallet, and you need to regain access to your wallet and your funds.
- You want to access your wallet and funds using a different wallet app.
- You want the best security, and you generated a recovery phrase using an advanced method.
Coinomi Wallet makes the process super easy and user friendly. Let's get started.
To initialize or import a wallet using your existing recovery phrase in Coinomi Wallet:
- Open the Coinomi Wallet app
- The main screen will show 3 options
- Fast Wallet Creation
- Advanced Wallet Creation
- Restore a Wallet
- Select "Restore a wallet"


- Enter your recovery phrase using the on-screen keyboard. For security reasons, Coinomi disables the use of the system keyboard
If you used Vault12 to back up your original recovery phrase, you can easily retrieve it by following these steps.
- If your recovery phrase includes a BIP39 passphrase, toggle-on "Advanced Settings" and check the "Use BIP39" checkbox
- A textbox field will appear on the screen, allowing you to enter your BIP39 passphrase
- When everything is entered correctly, tap on the blue arrow to continue to the next step
Now that you have entered your recovery phase, it is time to setup Wallet Encryption. Coinomi allows 4 different selections, ranked from least secure to most secure
- No Authentication
- Biometric Authentication
- Password Authentication
- Biometric + Password Authentication
When you are finished configuring your wallet encryption, Coinomi will display a list of popular coins and tokens supported in the wallet.
- To activate coins and tokens in your wallet, there are two approaches:
- Select the coins and tokens manually that you would like to activate, and click on the blue + symbol to add it to your wallet.
- Tap on the options menu in the top-right of the screen, and select "Scan all accounts." This will automatically scan every coin with built-in support by Coinomi and check for a balance. When the scan is complete, you can add all coins and tokens at once.
- If you don't see your coin or token listed, do not worry. You can manually add your coin or token after the wallet is setup.
Just one last step to cover before Coinomi will activate your wallet. It's time to cover the legal stuff.
- Check the box to agree to the Privacy Policies and the Terms and Conditions.
Congratulations! You have just initialized your wallet by importing your recovery phrase into Coinomi. Your wallet is now ready to use and fully functional.
In cryptocurrency, knowledge is your best friend. In the next section, we have some links to futher reading about Coinomi Wallet - check them out!
7. Further Reading
Digital Wallet providers will almost always have their own user documentation, and sometimes they may even have a user community where you can ask questions.
Check out these resources about Coinomi Wallets:
Information about best practices on the topic of security can be scattered all over the internet. We work hard to distill the best practices into one place for you.
Check out these resources about securing crypto wallets:

Vault12
Vault12 is the pioneer in crypto inheritance and backup. The company was founded in 2015 to provide a way to enable everyday crypto customers to add a legacy contact to their cry[to wallets. The Vault12 Guard solution is blockchain-independent, runs on any mobile device with biometric security, and is available in Apple and Google app stores.
You will lose your Bitcoin and other crypto when you die...
...unless you set up Crypto Inheritance today.
It's simple — if you don't worry about crypto inheritance, nobody else will — not your software or hardware wallet vendors, not your exchanges, and not your wealth managers. So it's up to you to think about how to protect the generational wealth you have created, and reduce the risks around passing that crypto wealth on to your family and heirs. What are the challenges with crypto inheritance?
- Crypto Wallets are difficult to use and do not offer crypto inheritance management. In fact, most of them tell you to write down your seed phrase on a piece of paper, which is practically useless.
- Some people back up their wallet seed phrases or private keys on paper, local devices like hardware wallets or USBs, or in the cloud. All of these options have severe drawbacks that range from hacking to accidental loss to disrupted cloud services.
- Software wallets operate on specific blockchains, yet your crypto assets span multiple blockchains. For inheritance to work, you must be able to manage inheritance across every blockchain — now and forever.
DISCLAIMER: Vault12 is NOT a financial institution, cryptocurrency exchange, wallet provider, or custodian. We do NOT hold, transfer, manage, or have access to any user funds, tokens, cryptocurrencies, or digital assets. Vault12 is exclusively a non-custodial information security and backup tool that helps users securely store their own wallet seed phrases and private keys. We provide no financial services, asset management, transaction capabilities, or investment advice. Users maintain complete control of their assets at all times.
Pioneering Crypto Inheritance: Secure Quantum-safe Storage and Backup
Vault12 is the pioneer in Crypto Inheritance, offering a simple yet powerful way to designate a legacy contact and pass on your crypto assets—like Bitcoin (BTC), Ethereum (ETH) and Solana (SOL) —to future generations. Built for everyday users yet robust enough for the most seasoned crypto enthusiasts, Vault12 Guard ensures your wallet seed phrases and private keys are preserved in a fully self-sovereign manner, across all Blockchains.
At the heart of Vault12 Guard is quantum-resistant cryptography and a decentralized, peer-to-peer network of trusted Guardians. Your critical information is never stored in the cloud, on Vault12 servers, or even on local devices—dramatically reducing the risk of a single point of failure. By fusing a powerful software layer with the Secure Element of iOS devices (Secure Enclave) and Google devices (Strongbox), Vault12 Guard locks down your private keys against present and future threats.
Our innovative approach harnesses social recovery, enabling you to appoint one or more trusted individuals or mobile devices as Guardians. These Guardians collectively safeguard your protected seed phrases in a decentralized digital Vault—so there’s no need for constant lawyer updates or bulky paperwork. Should the unexpected happen, your chosen legacy contact can seamlessly inherit your crypto assets without compromising your privacy or security.
Preserve your digital wealth for generations to come with Vault12 Guard—the simplest, most secure way to manage crypto inheritance and backup.
Take the first step and back up your crypto wallets.
Designed to be used alongside traditional hardware and software crypto wallets, Vault12 Guard helps cryptocurrency owners back up their wallet seed phrases and private keys (assets) without storing anything in the cloud, or in any single location. This increases protection and decreases the risk of loss.
The first step in crypto Inheritance Management is making sure you have an up-to-date backup.
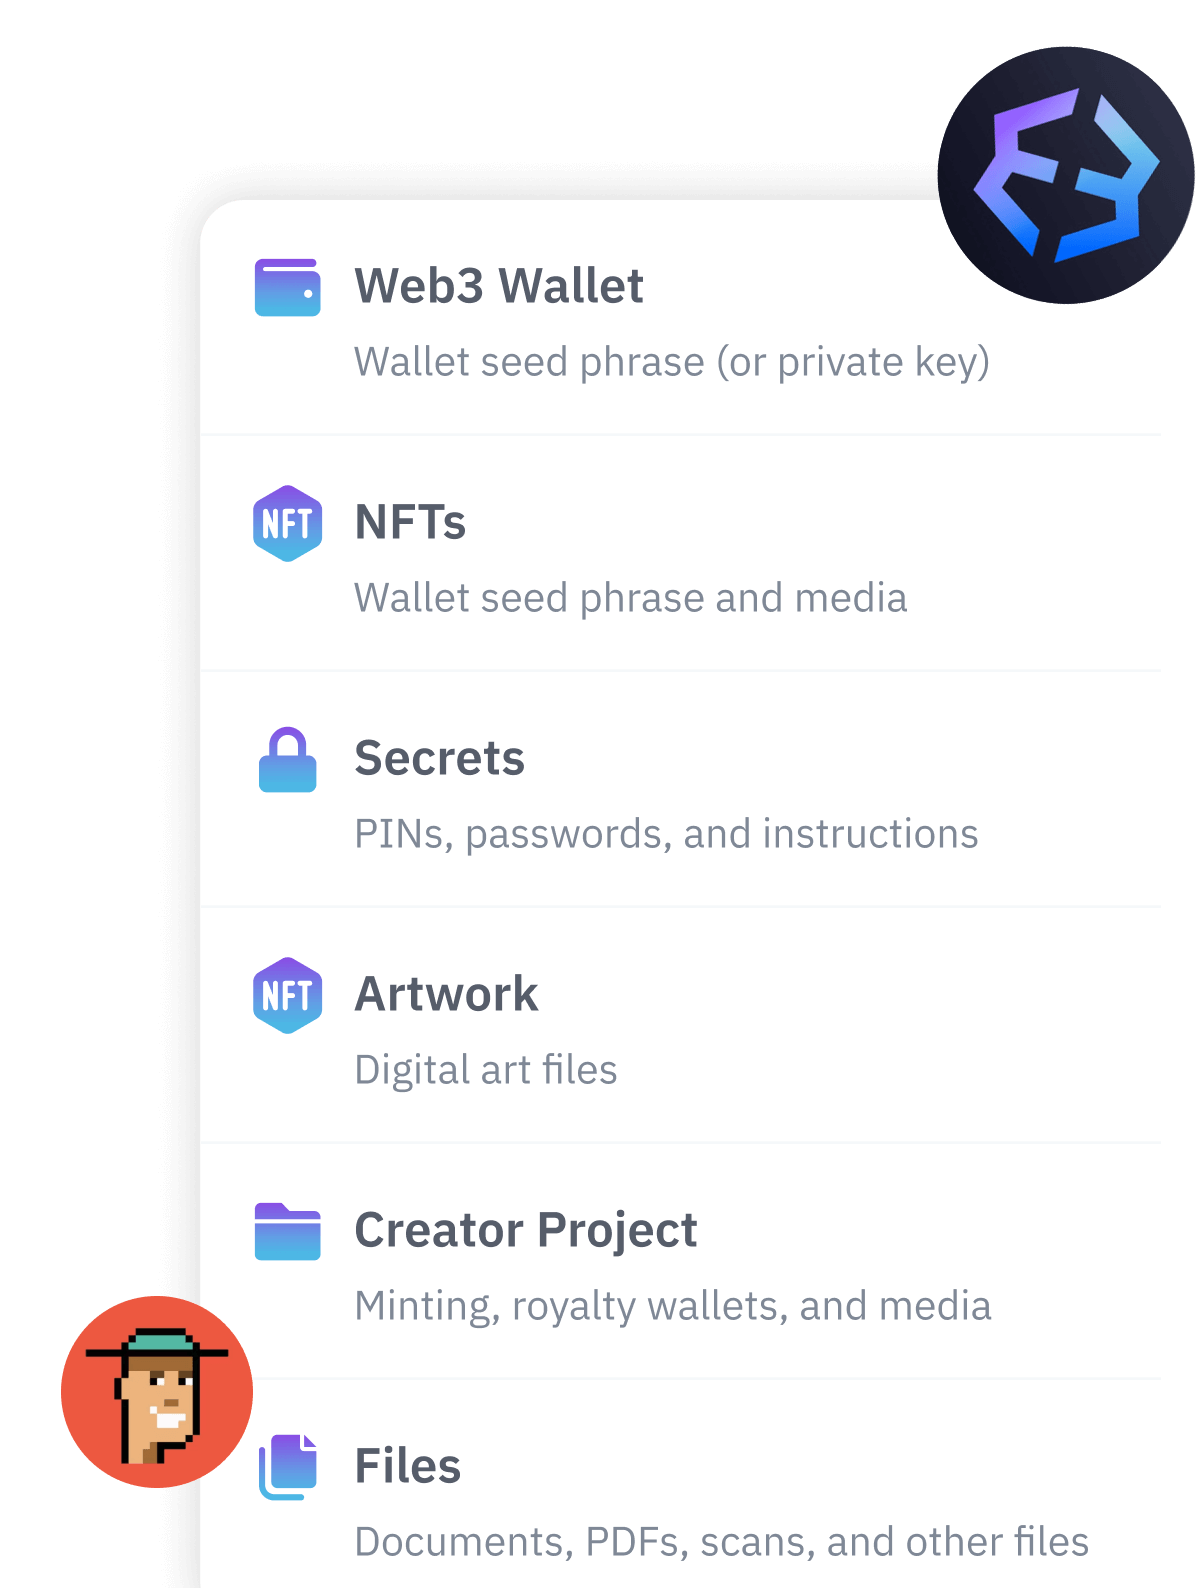
The Vault12 Guard app enables secure decentralized backups, and provides inheritance for all your seed phrases and private keys across any blockchain, including Bitcoin, Ethereum, and others, and for any crypto wallet.
Note: For anyone unfamiliar with cryptocurrencies, Vault12 refers to wallet seed phrases and private keys as assets, crypto assets, and digital assets. The Vault12 Guard app includes a software wallet that works alongside your Digital Vault. The primary purpose of this is to guard your Bitcoin (BTC) and Ethereum (ETH) wallet seed phrases, private keys, and other essential data, now and for future generations.


